Wednesday, 6 June 2012

Solid Oak Chest

Things have been a little quiet from myself for a while unfortunately. Many things have accounted for this including a big shape up in my place of employment, mountians of extra work in said employment, a house move and general life. I am suprised at how quickly time has flown by! I am a little disappointed at myself for letting my oak work live on a back seat and leaving it there for so long.

That time has now come to an end. I am back in the zone and scribbling down ideas and designs I'm going to tackle next and it is a great feeling. Why I let it go for these past few months I do not know!

So about this Oak chest.

I have a good friend that does genuine medieval reenactment and he casually asked if I can make a chest for him to carry all his armour, as he uses a large hold all bag at the moment which is not very authentic. So I agreed I would make him a chest. I set about with a few drawings and joint ideas to which he swiftly said no to. He wanted a very strong square box with a lid sat on top, but... with no joints that could be seen.

I suggested maybe a hidden dovetail joint which is not very 15th century I know, but it will be very strong and not visible like he wants. Downside to this idea was the 45 degree angle which the dovetails are cut into which was not used back then. I went through all the basic box joinery with him and he stopped on a lap joint and wanted that, which was easy for me but not very strong at all. So I then suggested fitting dovetails into the lap joint creating a lapped hidden dovetail joint.

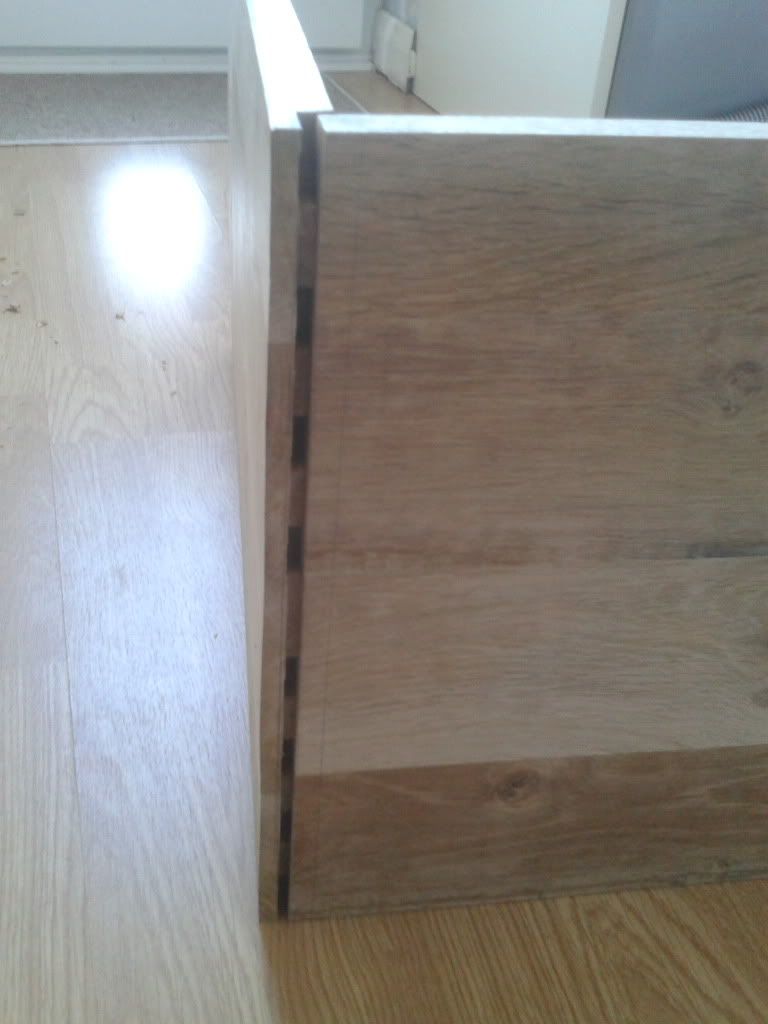
A bit complex but ideal for what he wanted. Very similar to the hidden dovetail but modified to fit into a lap joint. The dovetails get hidden from view once fitted tightly together and the box from above looks lap jointed.

If I have lost you with all these joints I apologise. A quick run through with picture of what I did.

I started with these lovely air dried boards.
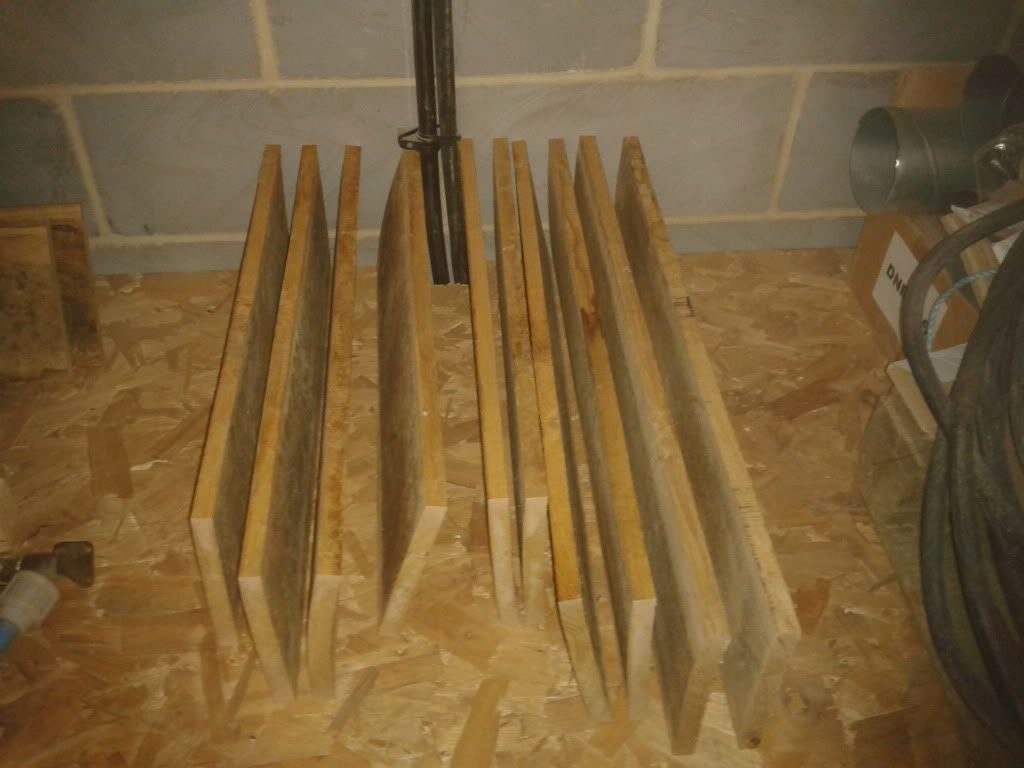

I then ripped down the boards and hand finished the edges for a perfect join and glued them up.


After sanding smooth and cutting to size I then set about marking the lapped hidden dovetails.


An example of how the joint works once chiselled out.

Once everything was cut out, I made the chest base which was cut to size and lap jointed to the bottom of the 4 sides. Everything fitted nice and tight so out came the glue and clamps to glue everything up.


After checking the squareness I letting it all dry over night. The next day came the first coat of oil and making the lid. (sorry no pictures of the lid making)
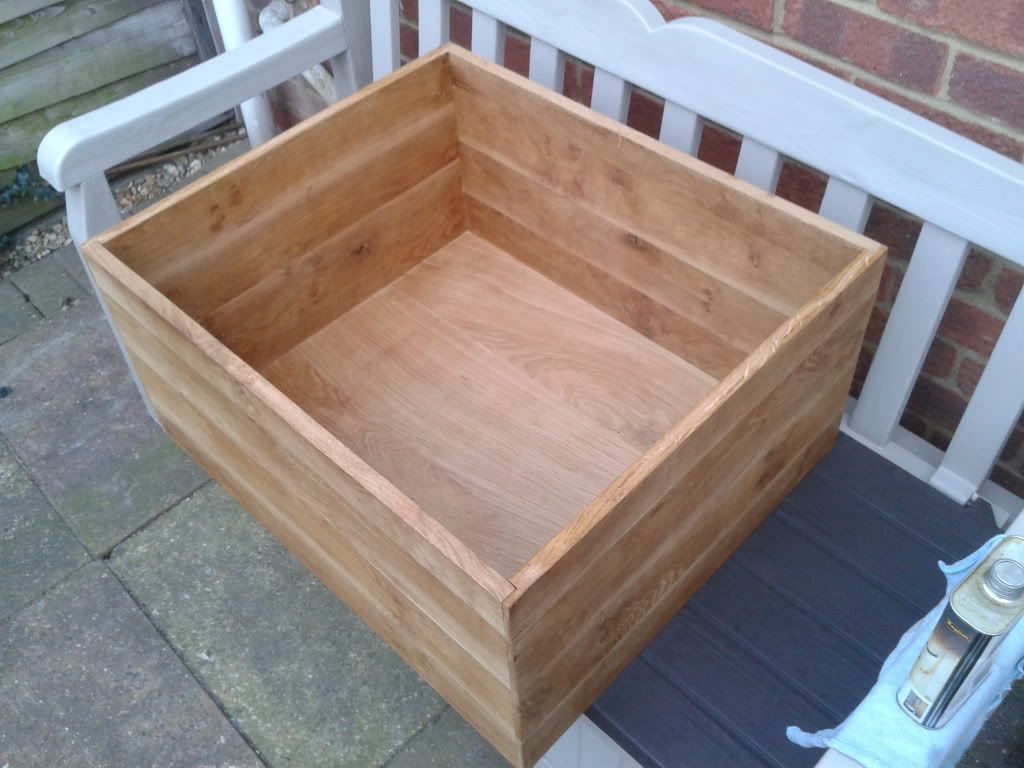


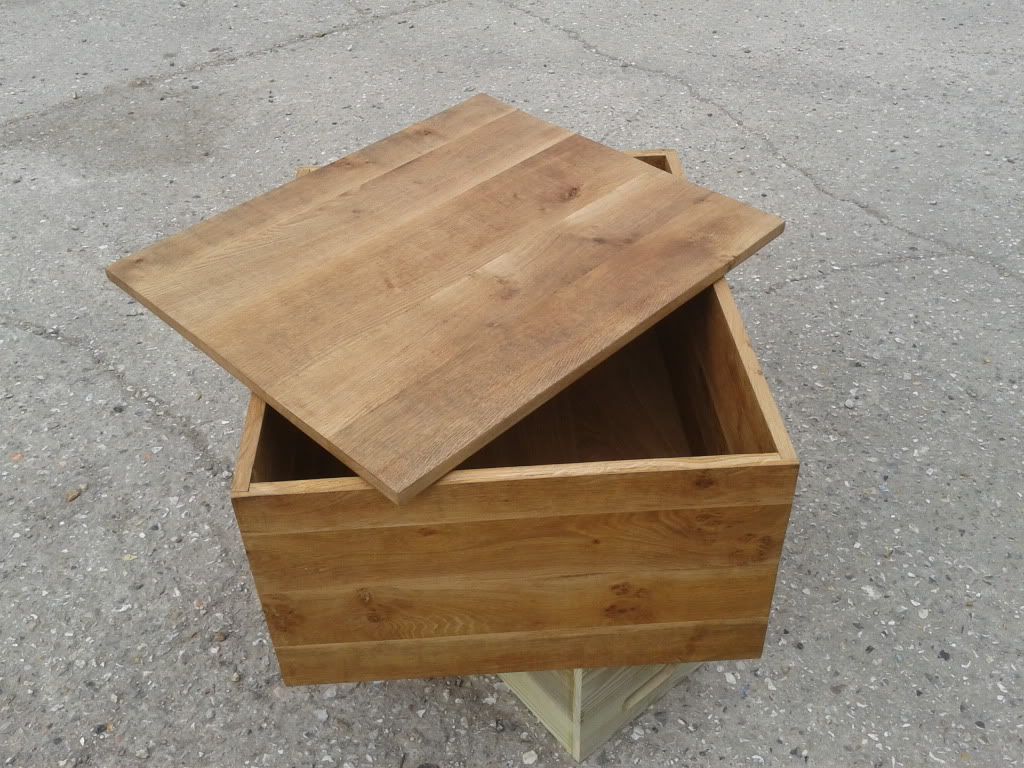
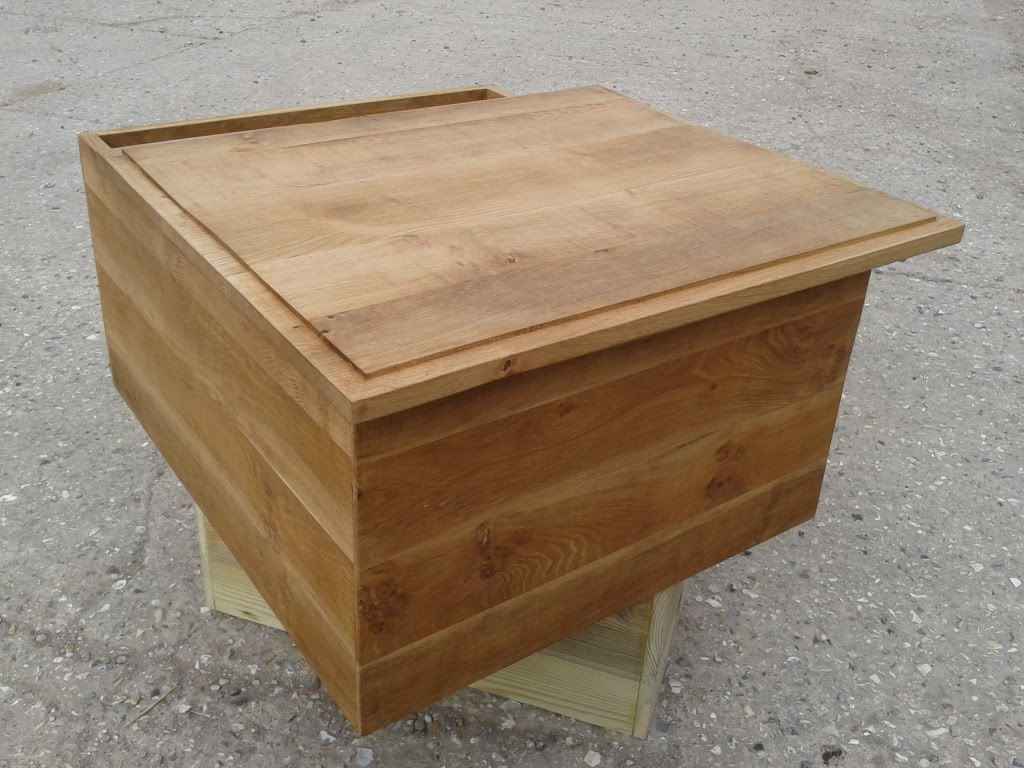
After everything was complete and 3 coats of oil were applied the end result was this.


The lid was slightly wavy which you can see in the pictures and my friend loved it.

I finished this the day before he took it to his first event this year which was a close call to get it done in time.

The idea I last heard was he wants to fit leather straping for hinges and a buckle type fitting to secure the lid down. I think once the leather is fitted it will totally transform this already very beautiful chest into something very unique which is my ideal finish to a project.

One last thing to do before it is finished. I am trying my hand at wood burning and engraving as he would like his genuine family coat of arms embedded into this chest as it is made to last. This chest might well be passed on through the years which makes me even more proud to have made this.

I will be sure to update this as soon as progress is made to it.

Thursday, 2 February 2012

Finished coffee table.

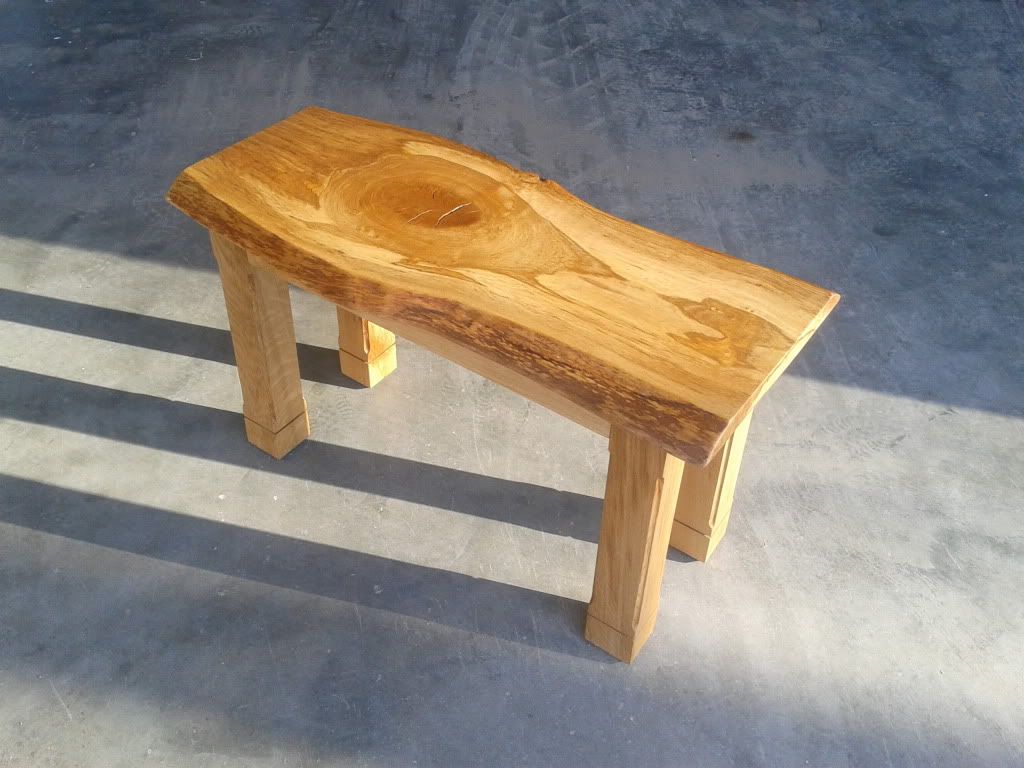
I have completed my most recent coffee table project with amazing results. A simple design with stand out features make this a coffee table that stands out in any room it will be placed. The huge knot that takes over the whole of the top is a gorgeous feature that you just cant help but admire.


You can see in the sunlight that this coffee table is very unique. You can never get these colours and patterns in the same place like this again. The large knot really makes this coffee table. But looking round this piece you will see other amazing lines and colours throughout the whole table.


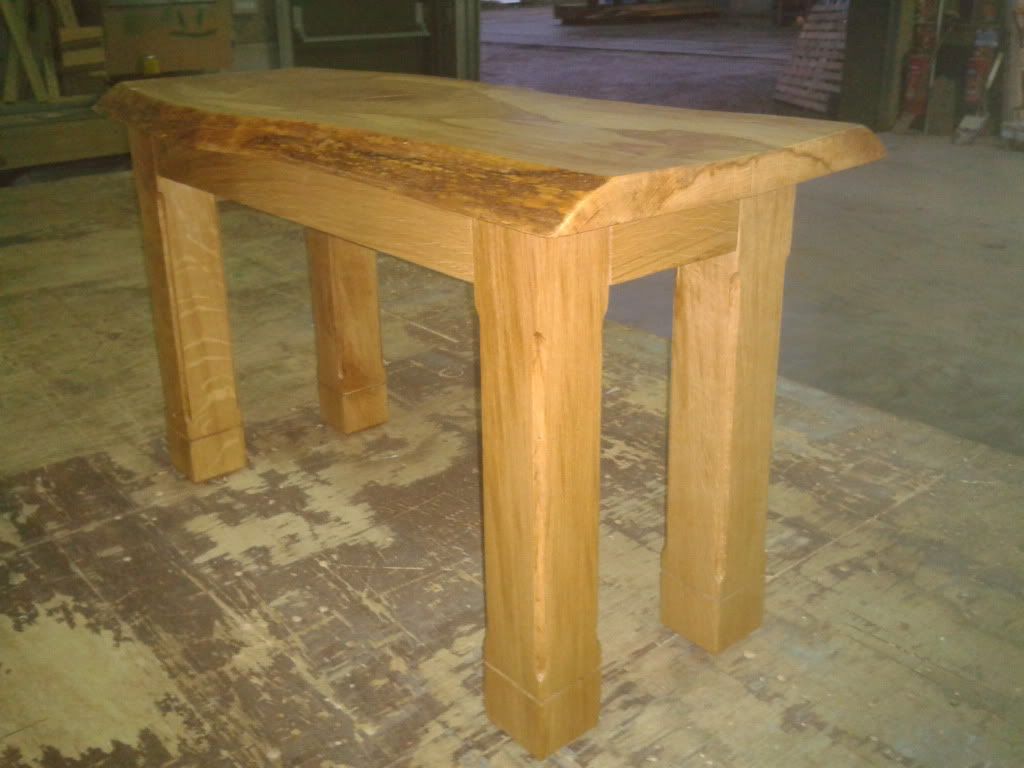
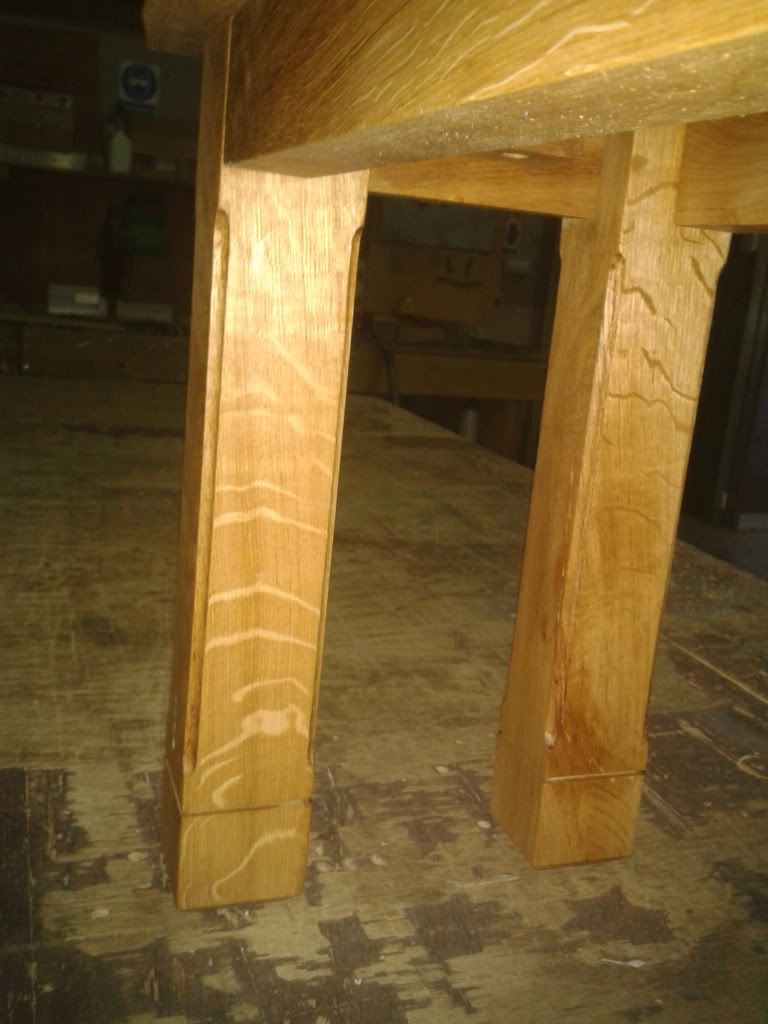
The rounded edges on the legs and angled feet give this table a simple but eye catching appearance. Hand cut mortice and tenon construction makes this a fully solid and sturdy coffee table. The gorgeous whole waney edged top is held down using screw and button method. This allows the top to naturally move without twisting the table out of square.


There are some very beautiful medullary rays (silver grain) running horizontally on the inside of the legs that just add to this tables large list of unique features.

I really enjoyed making this coffee table and I am over the moon with the end result!

Saturday, 21 January 2012

My love of Danish oil


Danish oil is my preferred finish to all my work. This is because the transformation it brings to a piece.

The images below shows what amazing features that danish oil can bring out in the oak. This waney edged coffee table top had many features to show off even before the oil was applied to it, but coupled with the oil the results were outstanding.


With the oil rubbed in with a microfibre cloth, just one coat (there will be 5 in total) transformed the piece with patterns, colours and lines that were unseen until the oil was applied. The golden colour which the oil has also gives off a warm feeling from the furniture once it is completed.


The results of Danish oil still amaze me. I love it and it is a bonus that it is also so easy to use.

Thursday, 19 January 2012

New custom coffee table.

I have been asked to make a coffee table for a colleauge. He picked out and supplied an oak beam to use for legs and rails and a lovely waney oak board with a large knot in it which will be an amazing feature to this table.


The oak beam provided to me needed to be cut up to use for the legs and the rails. I used a table saw to machine to beam down into 4 chunks at 75mm x 75mm. I planed two faces flat and square with each other and used these edges with the table saw to cut the other sides of the timber square. I then check everything using a tri square and everything was spot on. The legs were 68mm x 68mm finished size before cutting the design into them. I used the remainder of the oak beam to cut out the rails.


I worked with my colleauge to design the table to his liking. He was certain on the design of the leg as it was his own. Plain rails was what he wanted so no detail on those. I set out marking the mortice and tenons which is the fixing method I am using for the rails to the tops of the legs.


After a lot of mallet and chisel work the mortices were chopped out and the tenons fit nice, tightly and all square. I placed the table top on the constructed legs and rails to give an idea of what the coffee table will look like when it is finished. The height was perfect and my colleauge is over the moon with it. I have some sanding left to do, glue the rails and legs together, 4 x buttons to make to fix the top to the rails and a generous 5 coats of danish oil which will bring out the beautiful lines and markings of this piece. There are many, many medullary rays in this table. Finished images are soon to follow!


Tuesday, 17 January 2012

Oak beam bed frame finished!


 Following up from a post on the 29th December 2011 I am pleased to say that my oak beam bed frame is now completed! I have a few pictures to share of the build and a brief run through of what to picture are.


The 3 pictures you see above are what the oak was like before I began working on it. 150x150 beams and a 35mm thick waney edged board I found and used for a head board. In the last image one of the oak beams releaved some amazing medullary rays (silver grain) once it was sanded down.


The timber rails joining the foot frame of the bed to the head board frame were Ash in stead of Oak. I went for a change when I saw this was available to me and the grain patterns were unreal! I was glad I used this once I saw it. The foot end of the bed was sat on top of 300mm legs which were fixed using mortice and tenons. These were fitted tightly in place and an oak peg was used to hold the joint together.

The last image is to show the design of the bed and to test fit the joints which are mortice and tenons.


The head board joining was hand cut using a tounge and groove fixing method. Once the pegs were driven into the frame joints it pulled the frame tight together sandwiching the head board tightly in between the upright posts to make up the head board frame as seen in the second image of these three.

The last image is the bed frame joint work completed and fitted together. No pegs have been driven in yet so the frame can be taken apart to easy moving. The jobs left to do was to groove out the Ash rails to take for the mattress and pine bed slats. I used pine for a bit of give and flex for under the mattress.

I used 12 slats in total. Each one was 25mm x 100mm spanning the width of the bed frame. This easily supports the mattress with no sagging what so ever.

I gave the whole bed frame a danish oil finish to protect it and to bring out the beauty of the oak and ash.

Sleeping in the bed after getting it home was fantastic. It is as I wanted it to be. A solid, sturdy bed that looks different to anything else. The large beams dwarf everything else in the bedroom and makes a real presence in the room. No movement, no creaking from loose joints and no sleeping in a bog standard bed. Perfect!

From the 6 year dried oak beams to the finished bed frame was all hand made. All joints were worked out and cut by hand. The mortices were cut using a drill and chisels then everything knocked together using a rubber mallet. A belt sander and a drill were the only power tools I used for this whole build. Creating and making something by hand is extreamly rewarding. So happy with this!

Thursday, 5 January 2012

Blogging app for my phone.

I have just found and downloaded a blog app on the android market to see if I can post while working on my projects. Hopefully so I can post to everyone so they can see what I have to do at certain stages of my builds. I hope I can use this app to post regularly!

Thursday, 29 December 2011

Oak beam bed frame

Me and my partner have recently purchased a new matteress and were looking at bed frames but the cost of a nice, decent bed frame nearly made me fall over. I knew I could make myself one that would be bigger, better and constructed to a much higher standard all for cheaper than a half decent frame to buy in the shops. All it would take was the cost of the timber and my time.

I designed an extravagant frame using 150x150 oak building framing timbers and I managed to get timbers, air dried for 6 years at the sizes I needed kindly given to me. I also got some 150x75 Ash which I decided to use for the rails instead of oak. So I have not paid out anything for this bed frame.

Setting out on sanding all the edges down revealed some amazing character including cat paw knots and masses of medullary rays. Working out for all the joints was a task in itself due to the timbers being curved slightly as well as twisted.

I am cutting the mortices and the tenons by hand along with all the timber lengths. The only machinery used will be a belt sander and a drill.

I am at around the 40% complete stage at this moment in time.

This is my main project so updates will be regular and images will follow shortly.